Using a Program Office Profile
1. Go to Start > All Programs > Nuance Power PDF Advanced > Create Assistant
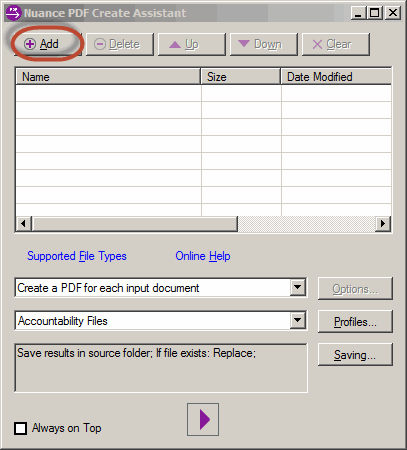
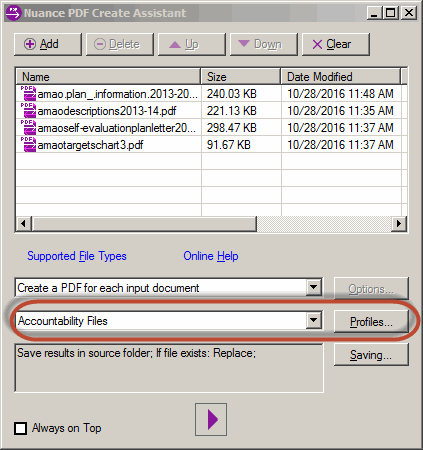
2. In the Nuance PDF Create Assistant window, click the Add button.
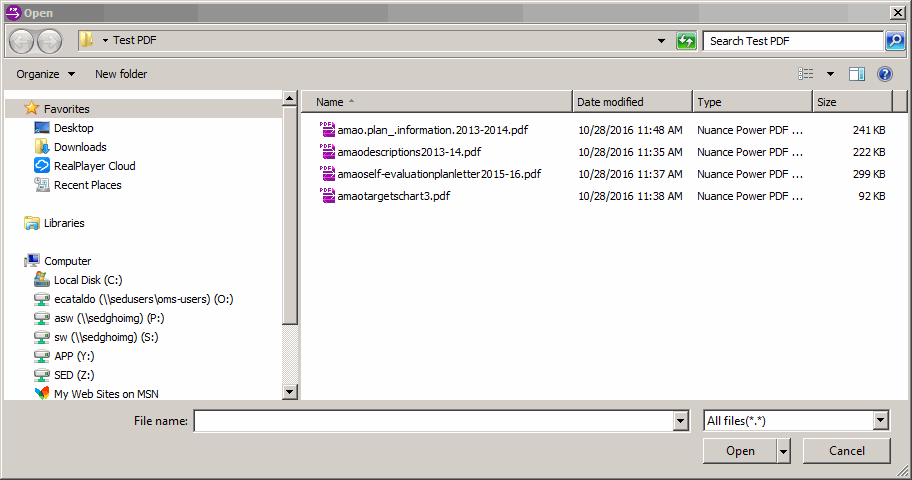
- Navigate to the folder that has your office PDF files.
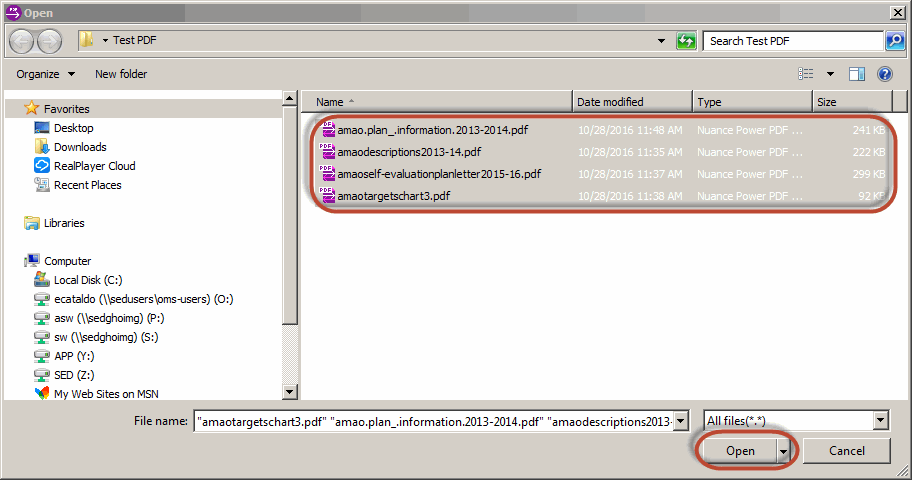
- Click to highlight all the files. Click the Open Button.
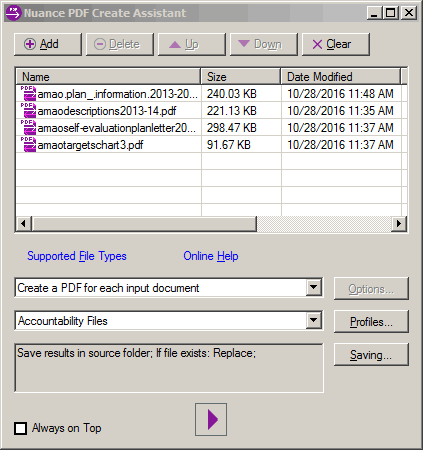
- The files are listed in the Nuance PDF Create Assistant
- For Profiles, pick the Office profile that you want to use. In this example, we will use Accountability Files
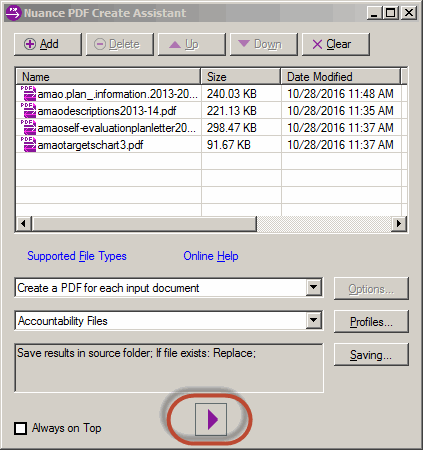
- Click the purple right arrow icon.
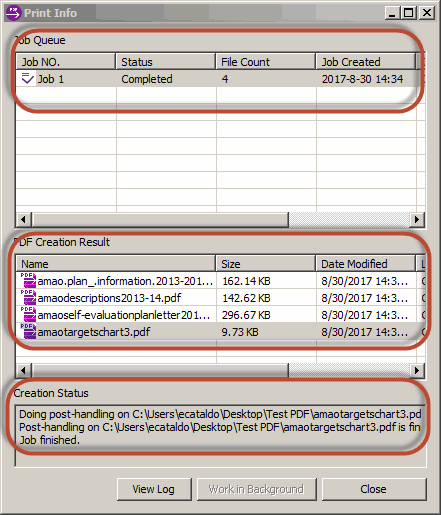
- The Print Info screen will display to show the files being worked on.
- Under Job Queue, you will see the job.
- Under PDF Creation Result, you will see the 4 files. You will see the current date
- Under Creation Status, you will see that the Job is finished.
- Click the Close button.
- Close the Nuance PDF Create Assistant window.
- Go to the folder that has your revised PDF files.
- Click to open the first file in Nuance Power PDF Advance.
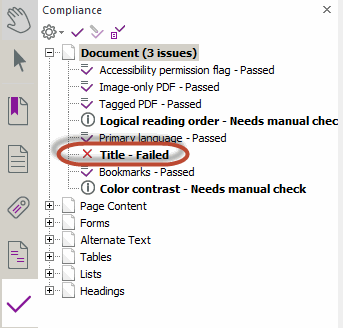
- In the left navbar, click on the Compliance Panel icon. It is a big checkmark. If you do not see the checkmark, right click in the left navbar area and select Compliance.
- In the Compliance window, click on the Accessibility Check icon. It is a checkmark.
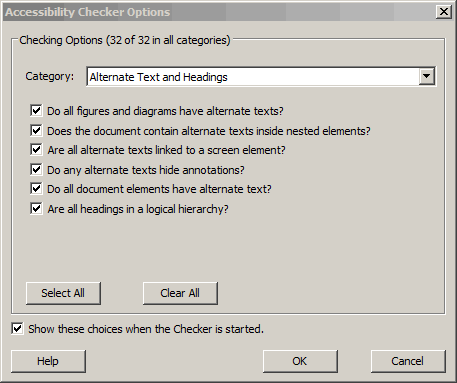
- In the Accessibility Checker Options window, click OK.
- The check shows us that a TITLE is missing.
- Close the Compliance panel.
- To insert the TITLE:
- In the left navbar, click the Select Tool. It looks like an arrow.
- Click to highlight the text that you would like to use for the TITLE.
- Right-click and select Copy
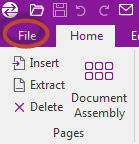
- Click File in the menu bar.
-
Under Properties > Title, right-click and select Paste
-
Click the back arrow, in the left navbar.
- Click the Save icon.
-
If you run the Accessibility Checker, you will see that the TITLE has been fixed.
-
Continue adding the TITLE to the other revised PDF files.


